1.pom导入druid数据源和log4j
<dependency>
<groupId>com.alibaba</groupId>
<artifactId>druid</artifactId>
<version>1.1.23</version>
</dependency>
<dependency>
<groupId>log4j</groupId>
<artifactId>log4j</artifactId>
<version>1.2.17</version>
</dependency>
2.在yml中加入type,配置相关属性
spring:
datasource:
driver-class-name: com.mysql.cj.jdbc.Driver
url: jdbc:mysql://localhost:3306/document5?useUnicode=true&characterEncoding=UTF-8&zeroDateTimeBehavior=convertToNull
username: root
password: 123456
type: com.alibaba.druid.pool.DruidDataSource
initialSize: 5
minIdle: 5
maxActive: 20
maxWait: 60000
timeBetweenEvictionRunsMillis: 60000
minEvictableIdleTimeMillis: 300000
validationQuery: SELECT 1 FROM DUAL
testWhileIdle: true
testOnBorrow: false
testOnReturn: false
poolPreparedStatements: true
#配置监控统计拦截的filters,去掉后监控界面sql无法统计,'wall'用于防火墙
filters: stat,wall,log4j
maxPoolPreparedStatementPerConnectionSize: 20
useGlobalDataSourceStat: true
connectionProperties: druid.stat.mergeSql=true;druid.stat.slowSqlMillis=500
3.配置DruidConfig
@Configuration
public class DruidConfig {
@Bean
//绑定yml的配置
@ConfigurationProperties(prefix = "spring.datasource")
public DataSource druidDataSource(){
return new DruidDataSource();
}
@Bean
//后台监控功能
public ServletRegistrationBean statViewServlet(){
ServletRegistrationBean<StatViewServlet> bean = new ServletRegistrationBean<>(new StatViewServlet(), "/druid/*");
//配置后台登录用户
HashMap<String, String> initParameters = new HashMap<>();
//登录的key是固定的
initParameters.put("loginUsername","admin");
initParameters.put("loginPassword","admin");
//设置访问权限
//允许访问
initParameters.put("allow","");
//禁止访问
//initParameters.put("key","IP地址");
//初始化参数
bean.setInitParameters(initParameters);
return bean;
}
}
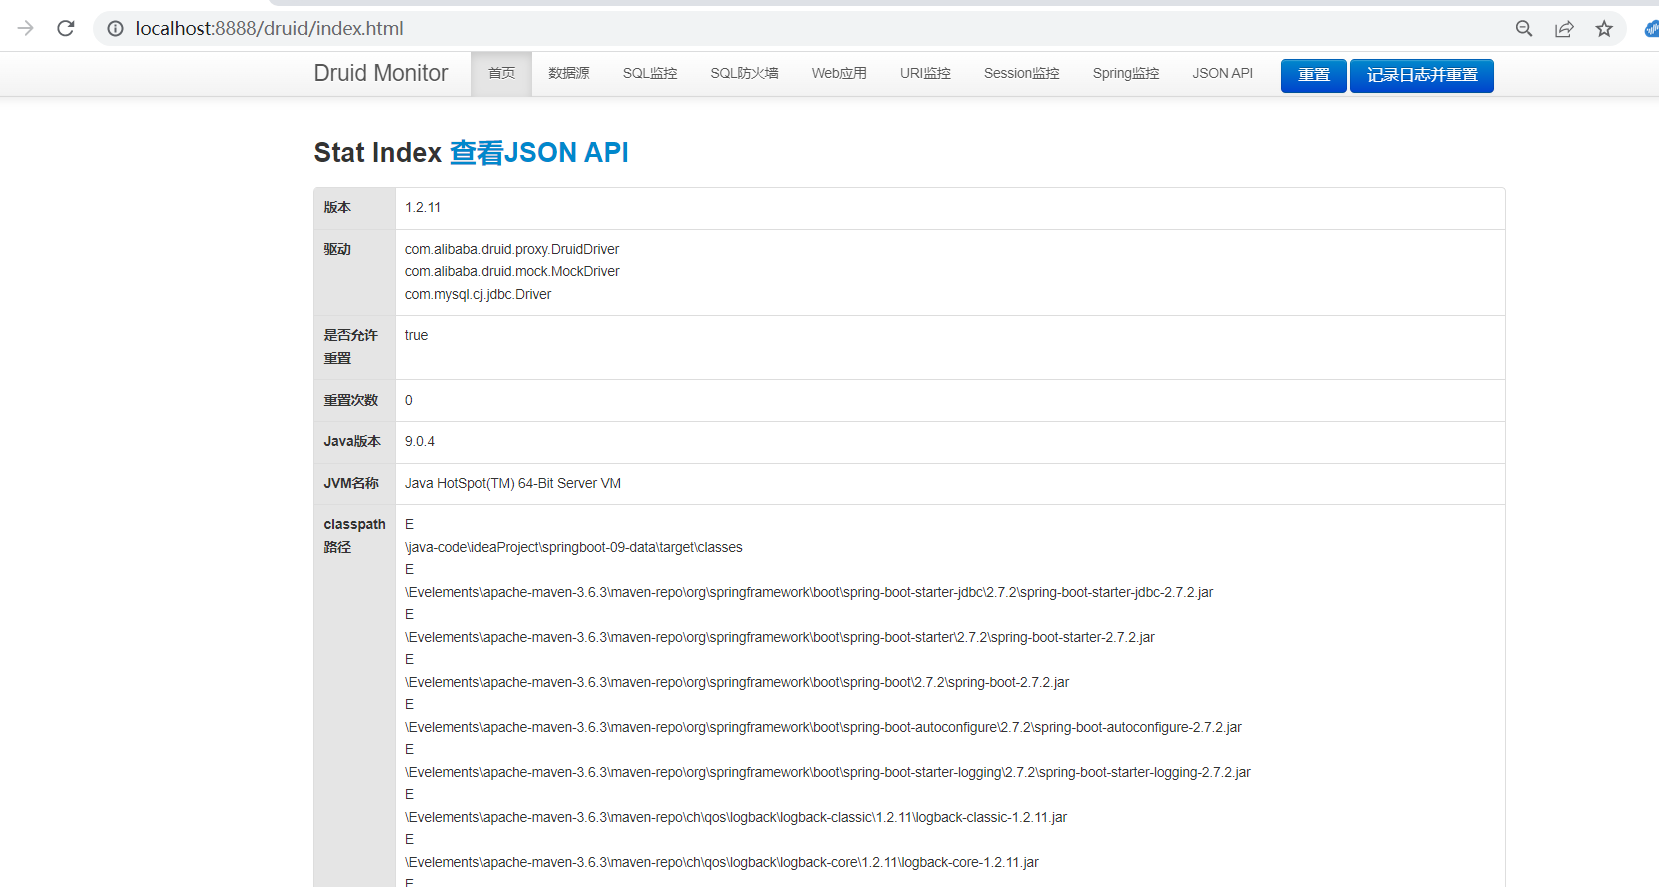
配置完成之后运行效果如下图: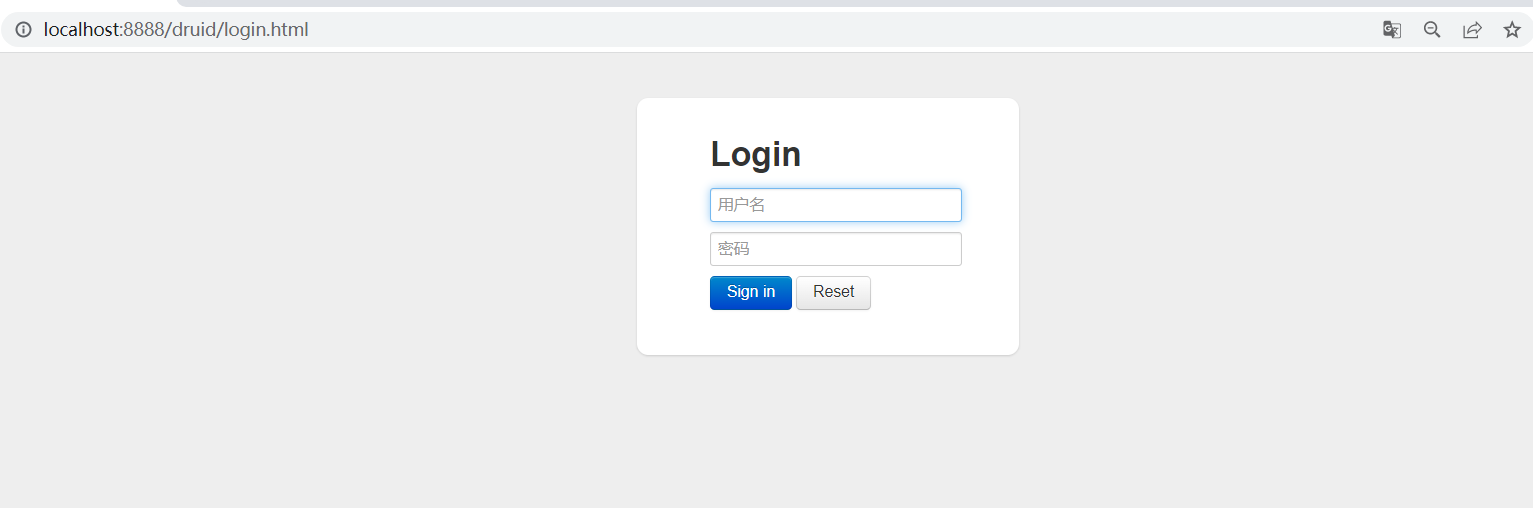
进行登录之后 后台控制如图实现SQL监控
转自:https://www.cnblogs.com/zlaoyao/p/16566658.html