
前言:最近公司项目需求,接入海康球机采集视频,然后需要项目实时直播采集回来的视频流进行播放,网上找了不少资料,缺胳膊少腿的,然后自己也一步步研究下来,最后整理一下,方便以后查阅
主要流程是基于nginx-rtmp-module,通过配置将rtmp转为flv,最后通过flv.js播放。
软件环境 1.nginx1.14.2(centos7)
2.nginx-http-flv-module1.2.6(centos7)
3.FFmpeg (windows10)
4.flv.js
流程步骤
1.安装nginx基本环境,后面需要安装nginx-http-flv-module模块,需要用到编译
yum -y install unzip
yum -y install gcc-c++
yum -y install pcre pcre-devel
yum -y install zlib zlib-devel
yum -y install openssl openssl-devel
2./opt下创建tools文件夹,将下载的nginx-1.14.2.tar.gz放在tools文件夹中
cd /opt
mkdir tools
cd tools
wget https://nginx.org/download/nginx-1.14.2.tar.gz
3../usr/local下创建nginx文件夹,git clone下载nginx-http-flv-module到nginx文件夹
cd /usr/local
mkdir nginx
cd nginx
git clone https://github.com/winshining/nginx-http-flv-module
4.直接在tools文件下解压nginx-1.14.2.tar.gz,并进入nginx-1.14.2解压后的目录
cd /opt/tools
tar -zxvf nginx-1.14.2.tar.gz
cd nginx-1.14.2
5.执行命令,添加模块支持
./configure –prefix=/usr/local/nginx –add-module=/usr/local/nginx/nginx-http-flv-module
6.执行编译安装命令
make && make install
7.进入 /usr/local/nginx/conf ,修改配置文件,个人自用的配置
worker_processes 10;
events {
worker_connections 10240;
}
rtmp_auto_push on;
rtmp_auto_push_reconnect 1s;
rtmp_socket_dir /tmp;
rtmp{
out_queue 4096;
out_cork 8;
max_streams 128;
timeout 15s;
drop_idle_publisher 15s;
log_interval 5s;
log_size 1m;
server{
#推流端口
listen 1935;
#推流应用名称
application myapp{
live on;
record off;
gop_cache on;
}
application hls{
live on;
hls on;
hls_path /usr/local/nginx/html/hls;
hls_fragment 1s;
hls_playlist_length 3s;
}
application dash{
live on;
dash on;
dash_path /usr/local/nginx/html/dash;
}
}
}
http {
include mime.types;
default_type application/octet-stream;
sendfile on;
keepalive_timeout 65;
server {
listen 9000; #http-flv的拉流端口
server_name 192.168.3.188; #http-flv的拉流ip
location / {
root html;
index index.html index.htm;
}
#http-flv的相关配置
location /live{
flv_live on; #打开HTTP播放FLV直播流功能
chunked_transfer_encoding on;
add_header ‘Access-Control-Allow-Origin’ ‘*’;
add_header ‘Access-Control-Allow-Credentials’ ‘true’;
}
location /hls{
types {
application/vnd.apple.mpegurl m3u8;
video/mp2t ts;
}
root /usr/local/nginx/html/hls;
add_header ‘Cache-Control’ ‘no-cache’;
}
location /dash {
root /usr/local/nginx/html/dash;
add_header ‘Cache-Control’ ‘no-cache’;
}
location /stat {
#configuration of push & pull status
rtmp_stat all;
rtmp_stat_stylesheet stat.xsl;
}
location /stat.xsl {
root /usr/local/nginx/nginx-http-flv-module;
}
location /control {
rtmp_control all; #configuration of control module of rtmp
}
error_page 500 502 503 504 /50x.html;
location = /50x.html {
root html;
}
}
}
7.把nginx加入自启动和系统服务,先进入/lib/systemd/system/目录,创建nginx.service文件vim nginx.service
cd /usr/lib/systemd/system
vim nginx.service
8.进入nginx.service文件内添加如下代码
[Unit]
Description=nginx – high performance web server
Documentation=http://nginx.org/en/docs/
After=network.target remote-fs.target nss-lookup.target
[Service]
Type=forking
# 路径对应安装路径
Type=forking
ExecStartPre=/usr/local/nginx/sbin/nginx -t -c /usr/local/nginx/conf/nginx.conf
ExecStart=/usr/local/nginx/sbin/nginx -c /usr/local/nginx/conf/nginx.conf
ExecReload=/usr/local/nginx/sbin/nginx -s reload
ExecStop=/usr/local/nginx/sbin/nginx -s stop
PrivateTmp=true
[Install]
WantedBy=multi-user.target
9.保存,重新加载 systemd
systemctl daemon-reload
10.加入开机系统服务
systemctl enable nginx.service
附带nginx常用操作
#启动nginx服务
systemctl start nginx.service
#停止nginx服务
systemctl stop nginx.service
#重启nginx服务
systemctl restart nginx.service
#重新读取nginx配置(这个最常用, 不用停止nginx服务就能使修改的配置生效)
systemctl reload nginx.service
11.打开防火墙端口,供外部系统访问
firewall-cmd –permanent –zone=public –add-port=9000/tcp
firewall-cmd –permanent –zone=public –add-port=1935/tcp
#重启防火墙
systemctl restart firewalld.service
12.外部网页访问虚拟机里nginx,顺带也可以用cmd telnet 1935的推流端口
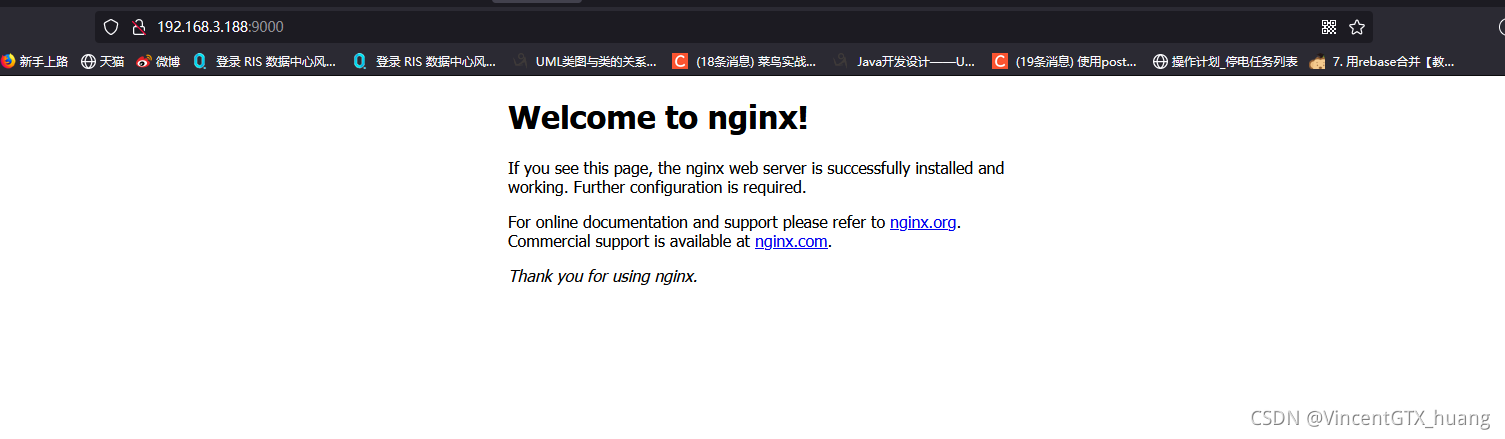
至此nginx的安装配置基本完成,接下来进行下一步准备工作
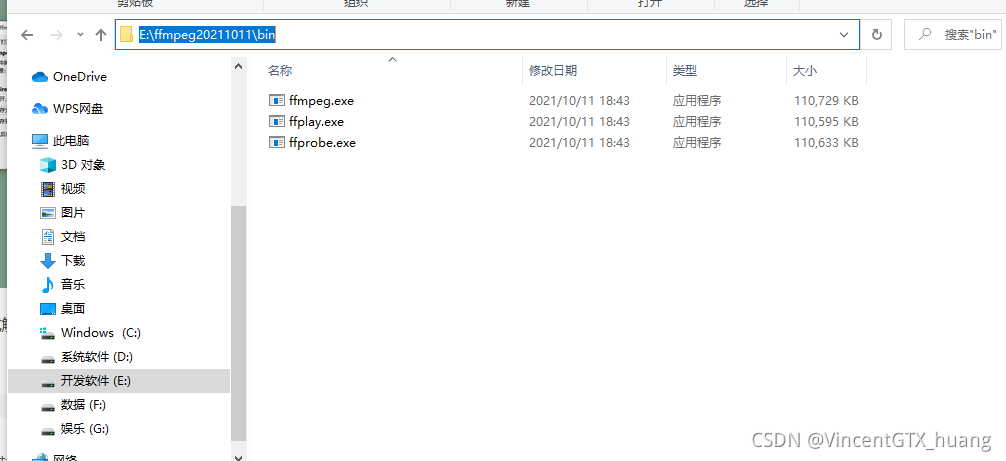
13.windows下载FFmpeg FFMpeg windows版本下载地址

下载解压完 bin目录下会有个exe的文件,注意了
14.添加系统环境变量,复制ffmpeg bin目录
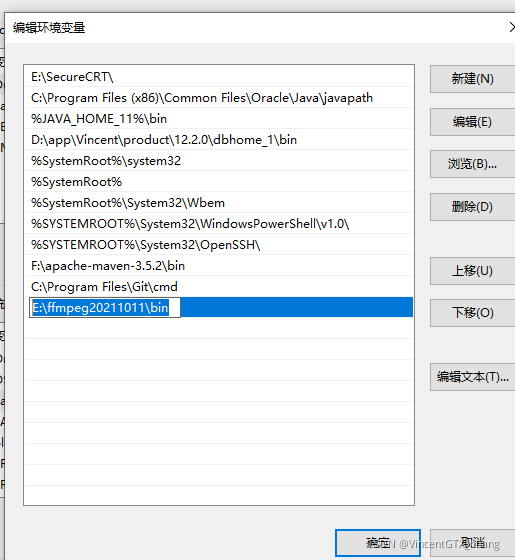
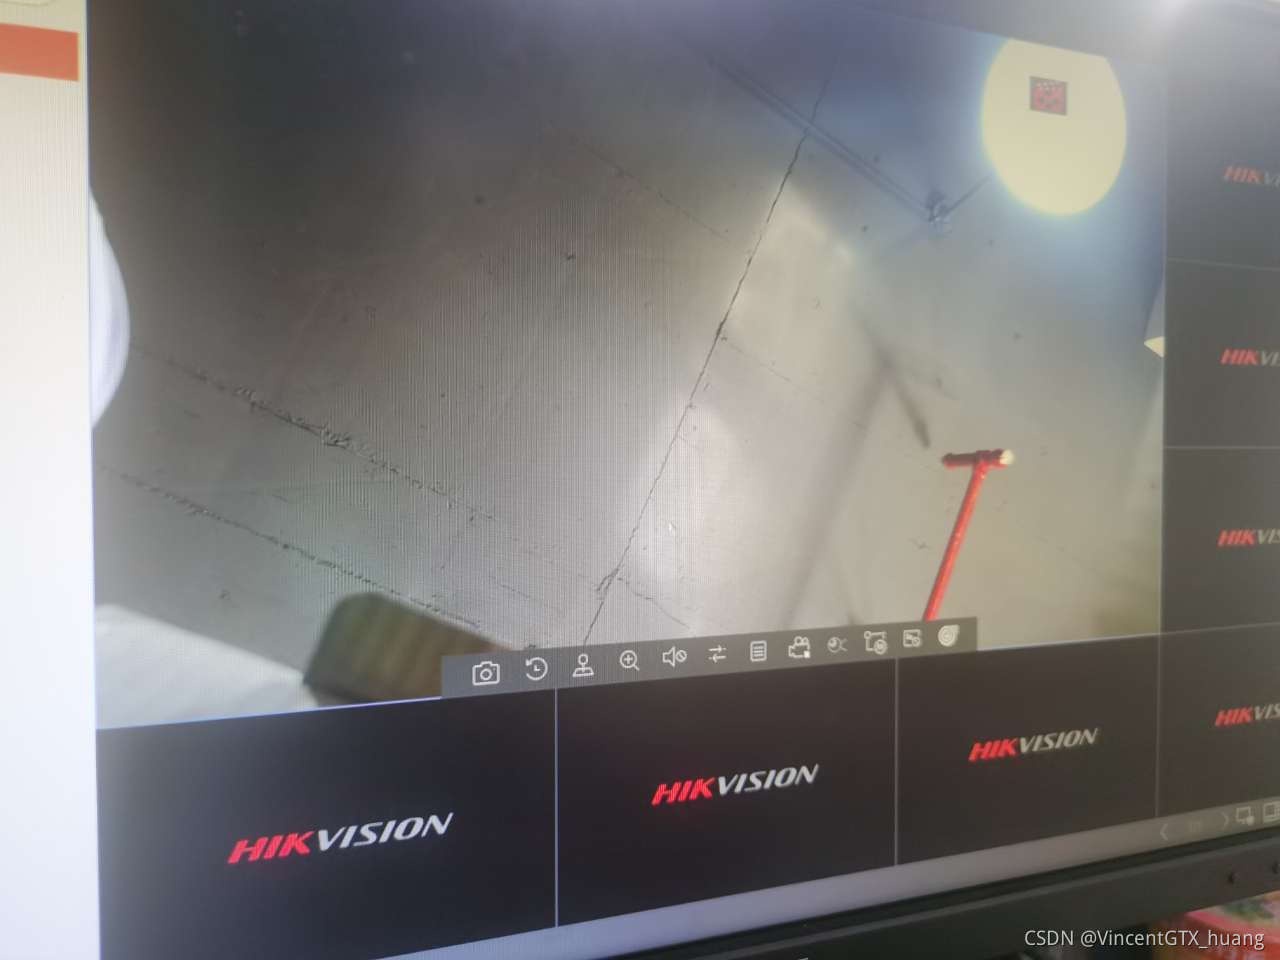
至此ffmpeg 也配置完毕 ,接下来说说,海康威视摄像头rtsp转换地址
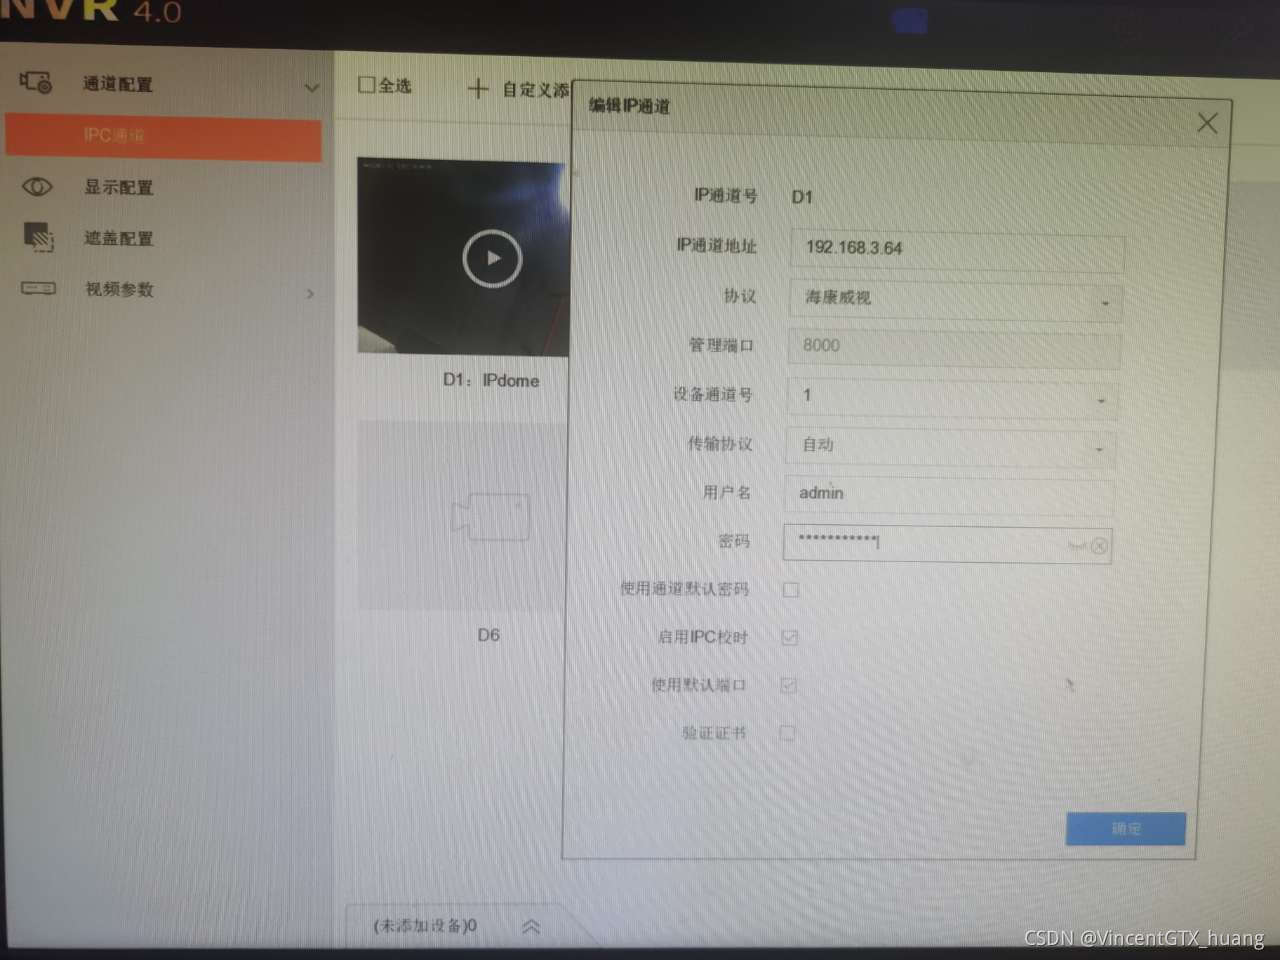
以我本地海康视频rtsp地址举例 rtsp://admin:kit12345678@192.168.3.64:554/Streaming/Channels/101
rtsp://账号名:密码@摄像机所在的ip地址:默认的554端口/Streaming/Channels/通道号
64是海康视频球机地址,188是linux下nginx配置推流地址,videoCodecType=H.264是264视频流的编码
用ffmpeg推流地址则为
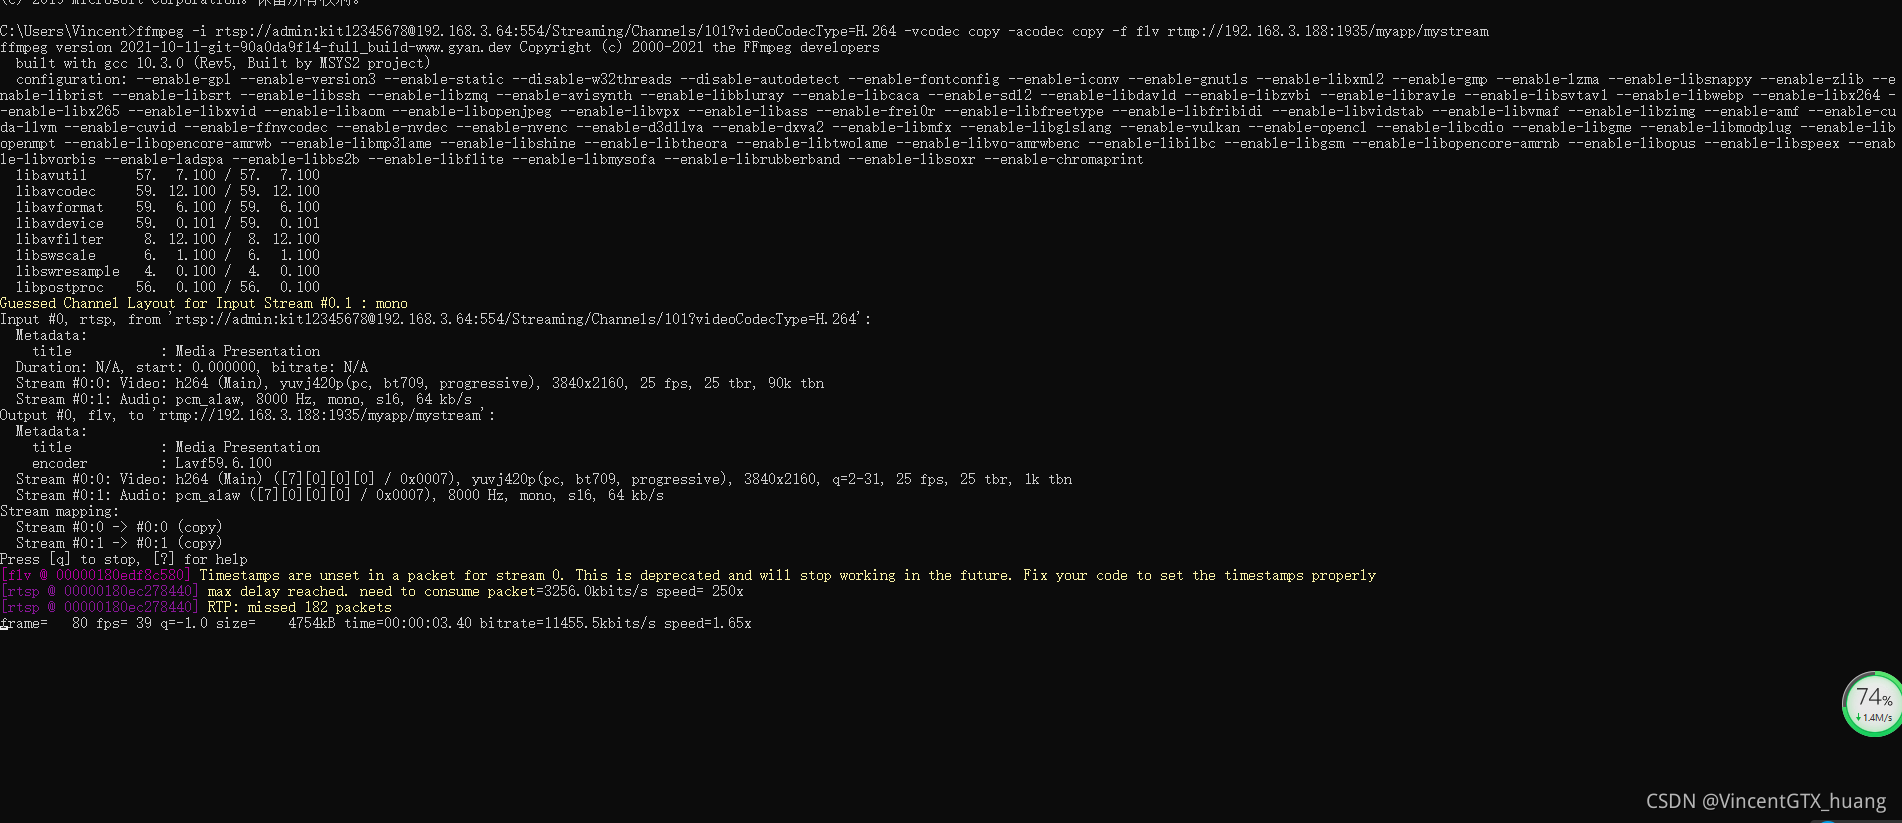
ffmpeg -i rtsp://admin:kit12345678@192.168.3.64:554/Streaming/Channels/101?videoCodecType=H.264 -vcodec copy -acodec copy -f flv rtmp://192.168.3.188:1935/myapp/mystream
15.使用cmd通过ffpmeg推流
cmd执行推流命令,看到有速率变化则说明推流成功
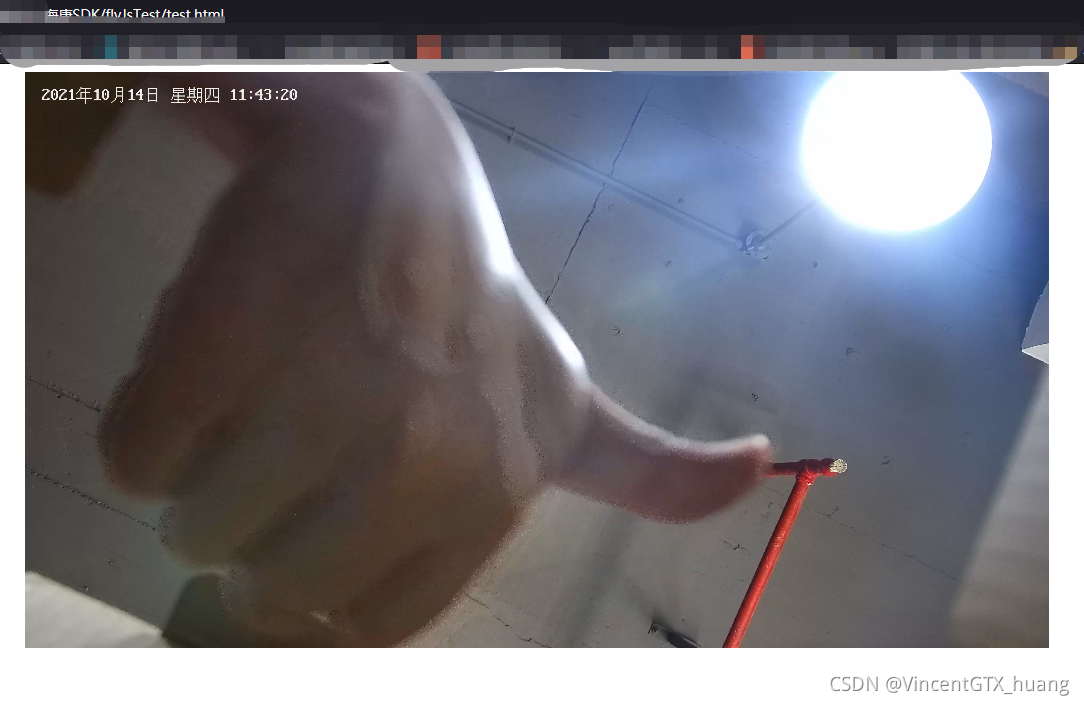
16.创建基于flv.js的测试拉取推流进行播放,直接上整合好的html前端代码
<!DOCTYPE html>
<html>
<head>
<meta content=”text/html; charset=utf-8″ http-equiv=”Content-Type”>
<title>flv.js demo</title>
<style>
.mainContainer {
display: block;
width: 1024px;
margin-left: auto;
margin-right: auto;
}
.urlInput {
display: block;
width: 100%;
margin-left: auto;
margin-right: auto;
margin-top: 8px;
margin-bottom: 8px;
}
.centeredVideo {
display: block;
width: 100%;
height: 576px;
margin-left: auto;
margin-right: auto;
margin-bottom: auto;
}
.controls {
display: block;
width: 100%;
text-align: left;
margin-left: auto;
margin-right: auto;
margin-top: 8px;
margin-bottom: 10px;
}
.logcatBox {
border-color: #CCCCCC;
font-size: 11px;
font-family: Menlo, Consolas, monospace;
display: block;
width: 100%;
text-align: left;
margin-left: auto;
margin-right: auto;
}
</style>
</head>
<body>
<div class=”mainContainer”>
<video name=”videoElement” class=”centeredVideo” id=”videoElement” controls width=”1024″ height=”576″ autoplay>
Your browser is too old which doesn’t support HTML5 video.
</video>
</div>
<script src=”https://cdn.bootcss.com/flv.js/1.5.0/flv.js”></script>
<script>
if (flvjs.isSupported()) {
startVideo()
}
function startVideo(){
var videoElement = document.getElementById(‘videoElement’);
var flvPlayer = flvjs.createPlayer({
type: ‘flv’,
isLive: true,
hasAudio: false,
hasVideo: true,
enableStashBuffer: true,
stashInitialSize: 128,
url: ‘http://192.168.3.188:9000/live?port=1935&app=myapp&stream=mystream’
});
flvPlayer.attachMediaElement(videoElement);
flvPlayer.load();
flvPlayer.play();
}
videoElement.addEventListener(‘click’, function(){
alert( ‘是否支持点播视频:’ + flvjs.getFeatureList().mseFlvPlayback + ‘ 是否支持httpflv直播流:’ + flvjs.getFeatureList().mseLiveFlvPlayback )
})
function destoryVideo(){
flvPlayer.pause();
flvPlayer.unload();
flvPlayer.detachMediaElement();
flvPlayer.destroy();
flvPlayer = null;
}
function reloadVideo(){
destoryVideo()
startVideo()
}
</script>
</body>
</html>
点击播放效果图如下
————————————————
版权声明:本文为CSDN博主「VincentGTX_huang」的原创文章,遵循CC 4.0 BY-SA版权协议,转载请附上原文出处链接及本声明。
原文链接:https://blog.csdn.net/VincentGTX_huang/article/details/120757767